


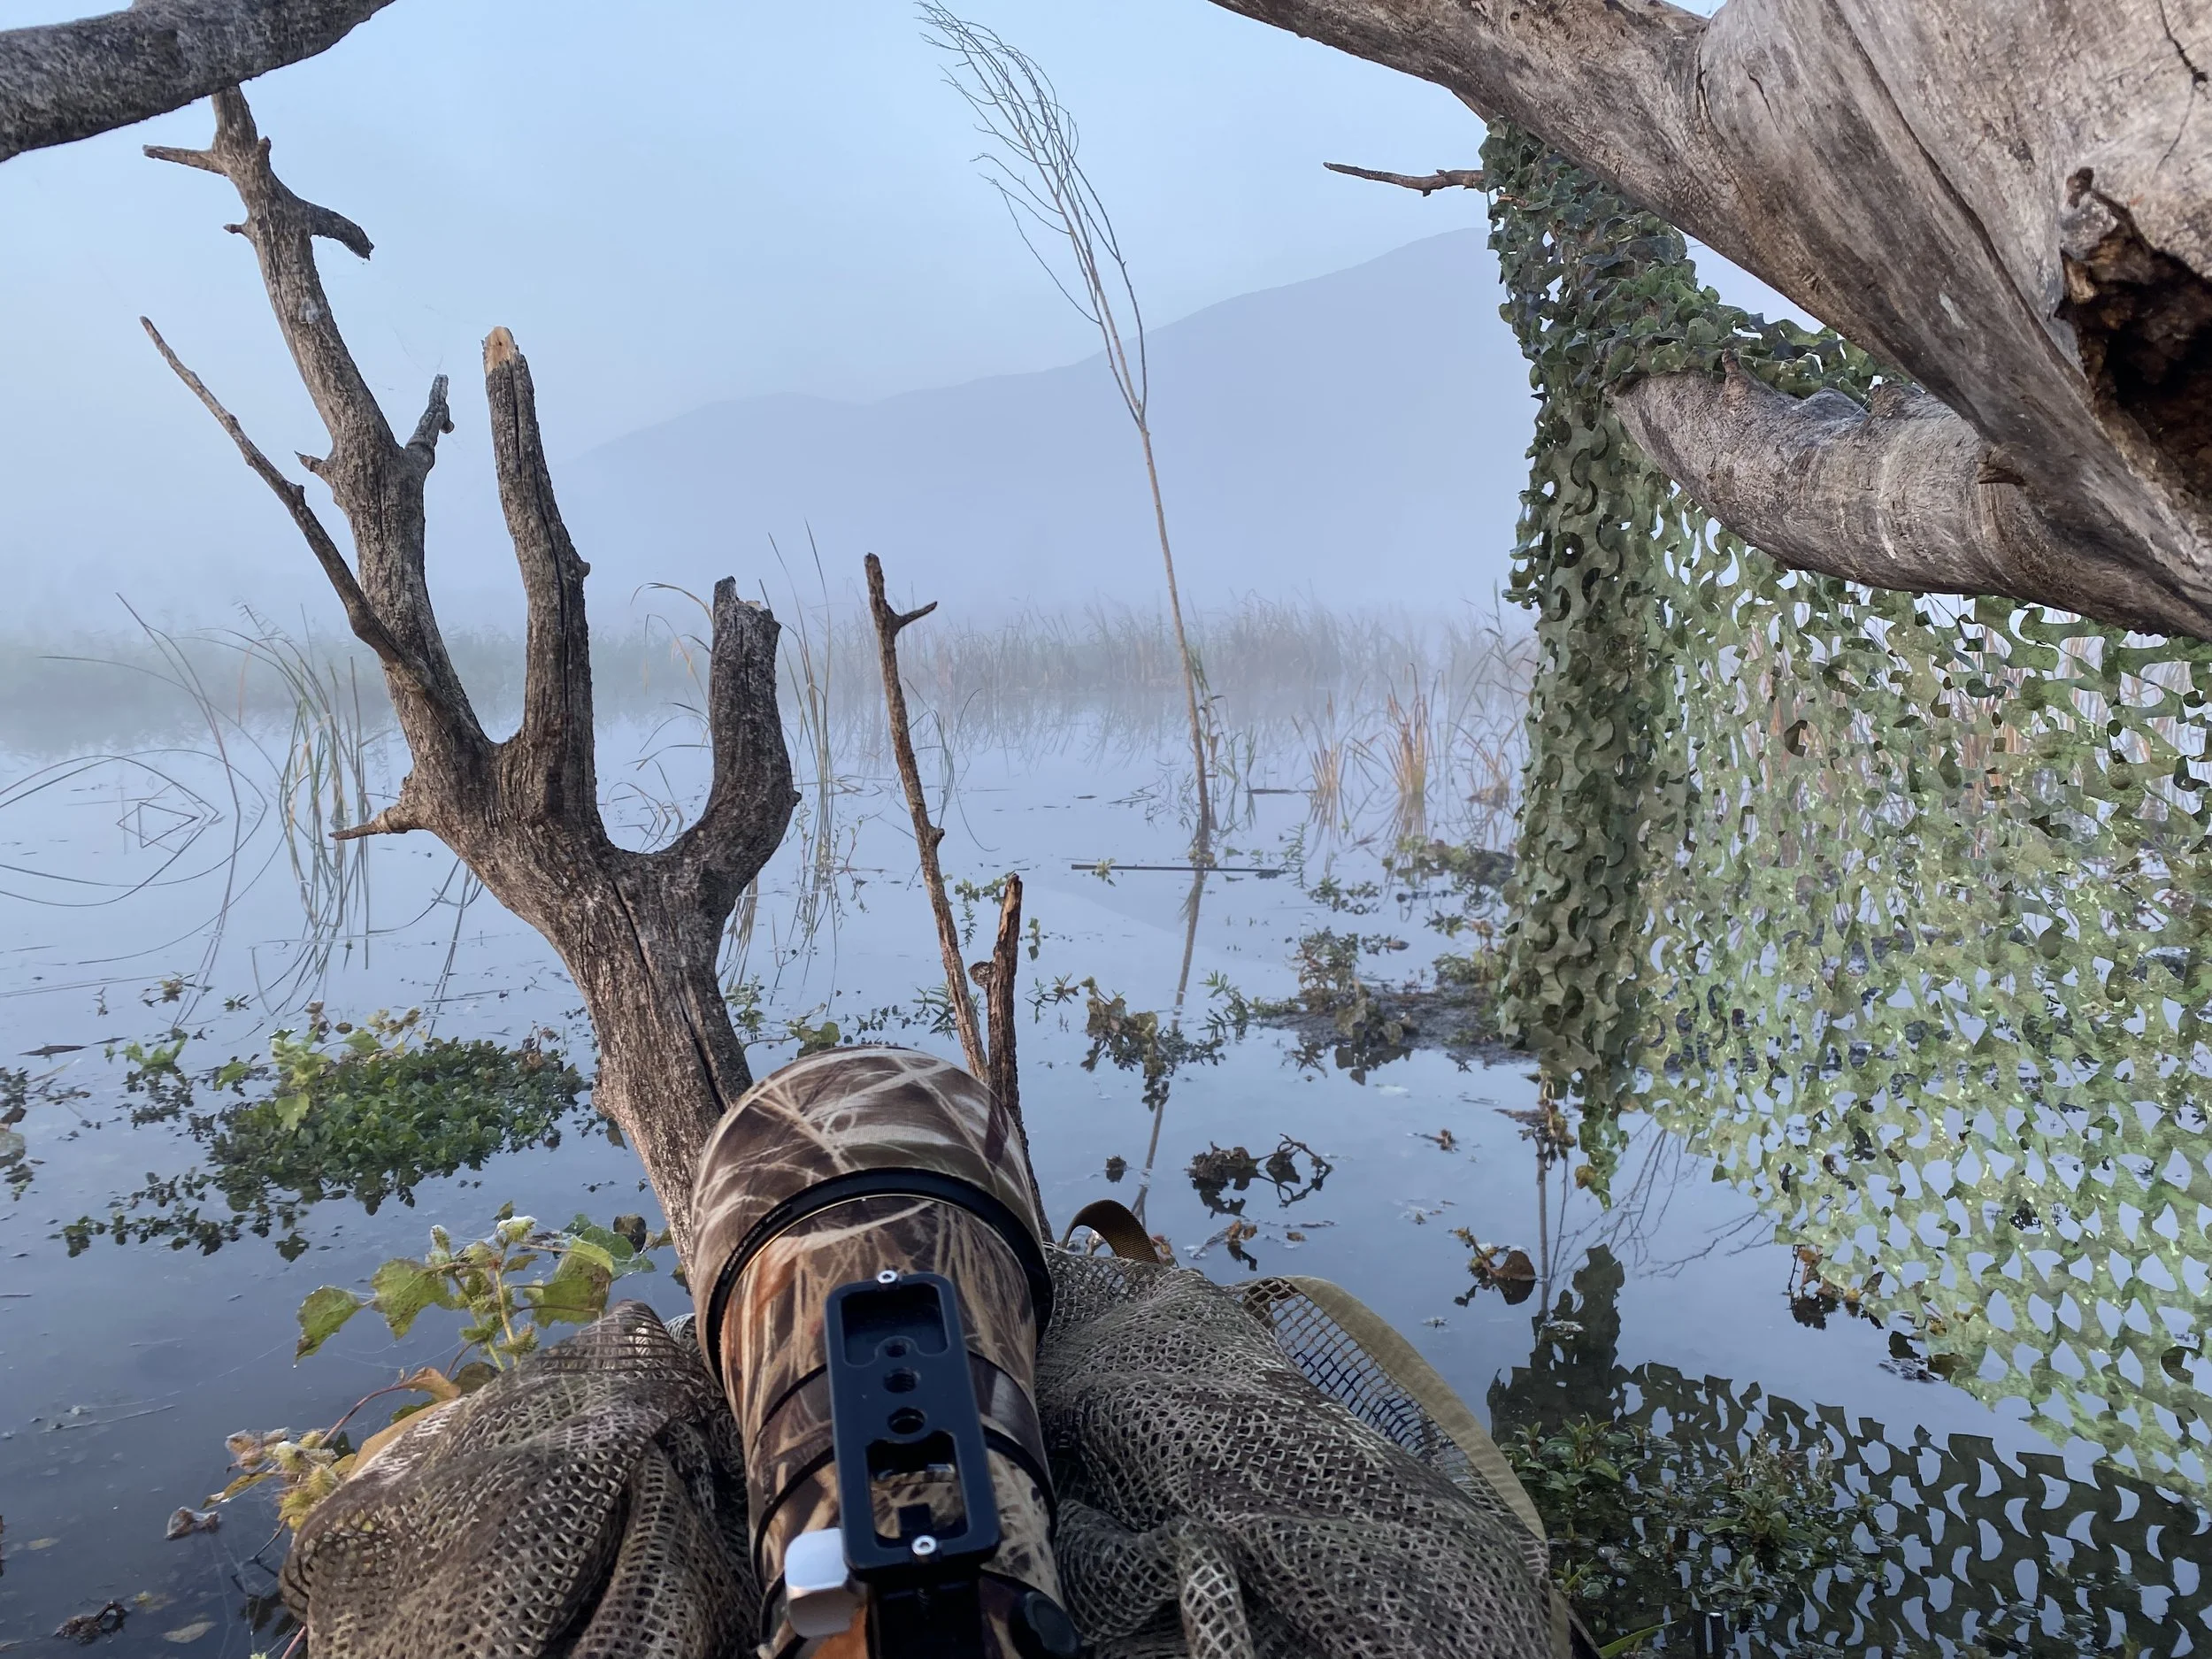
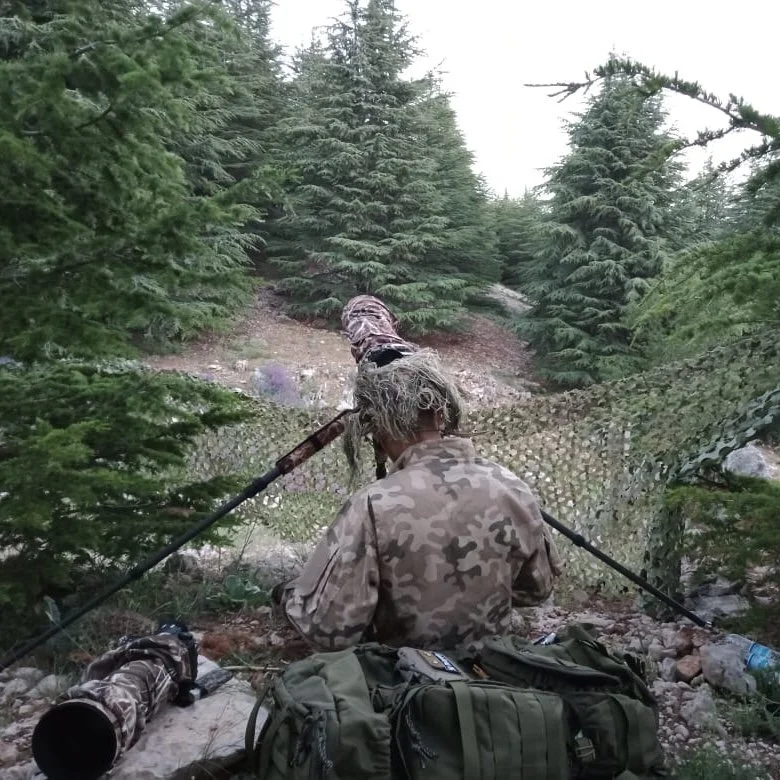


Makeshift Hide
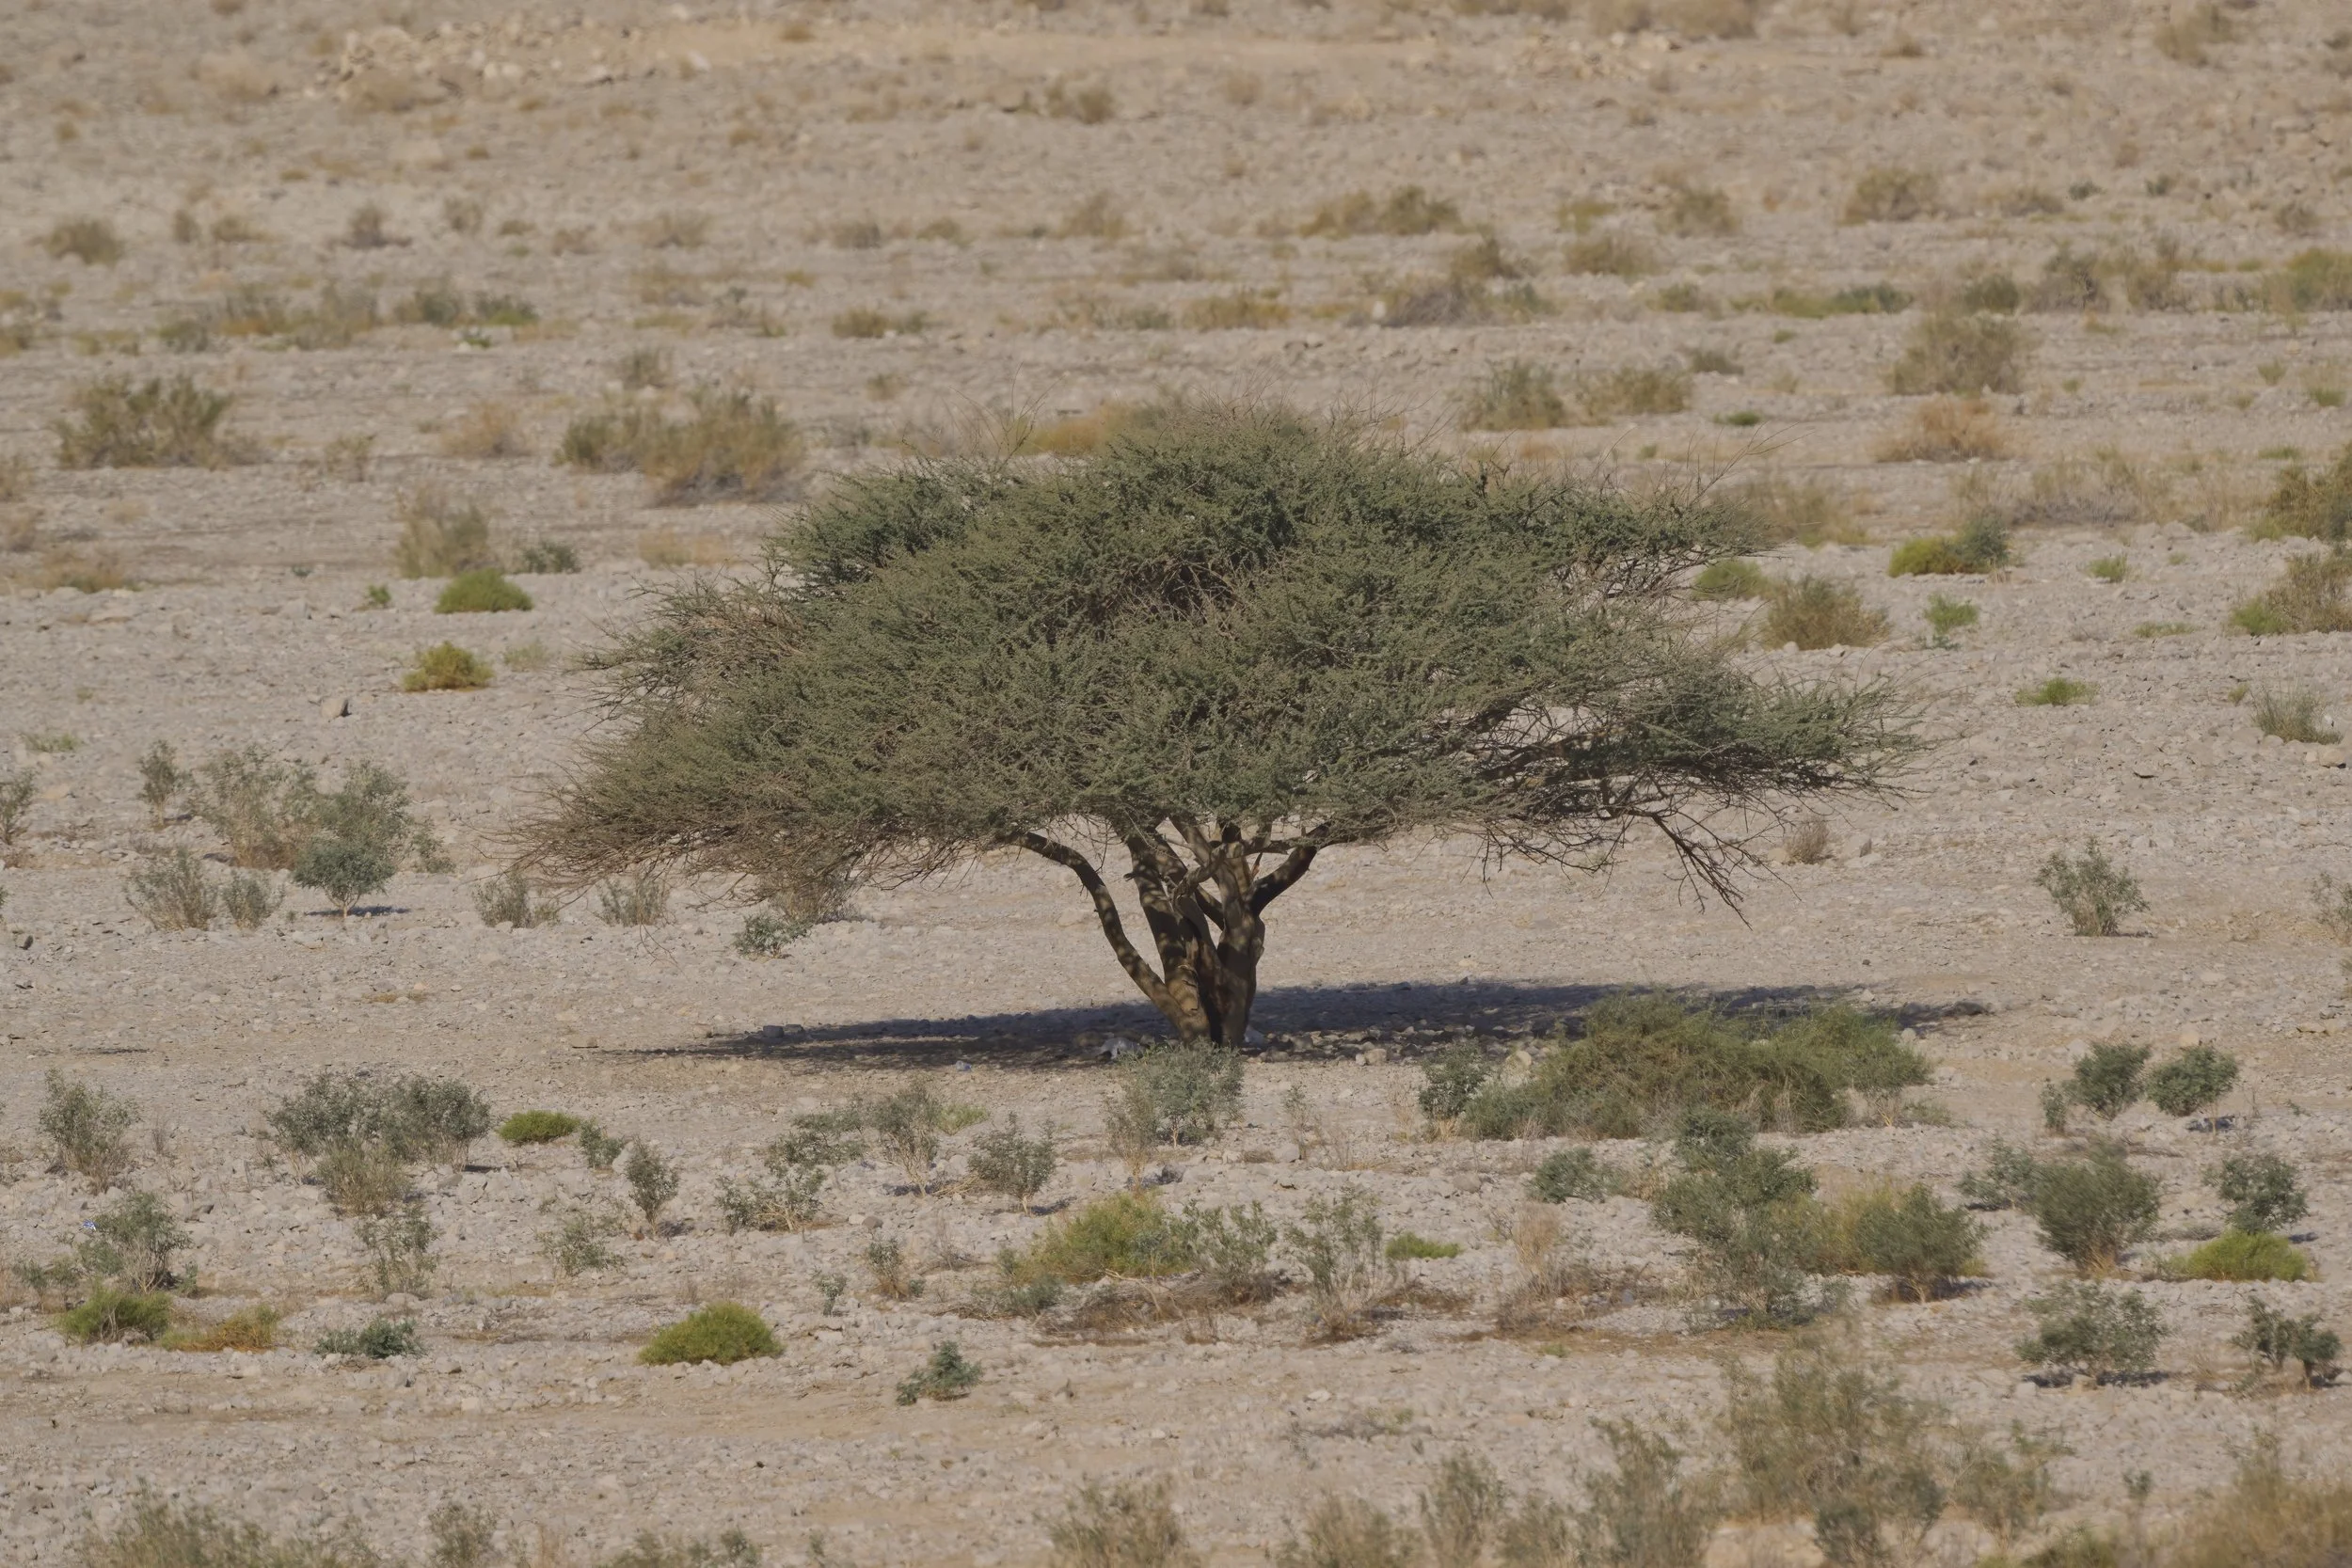
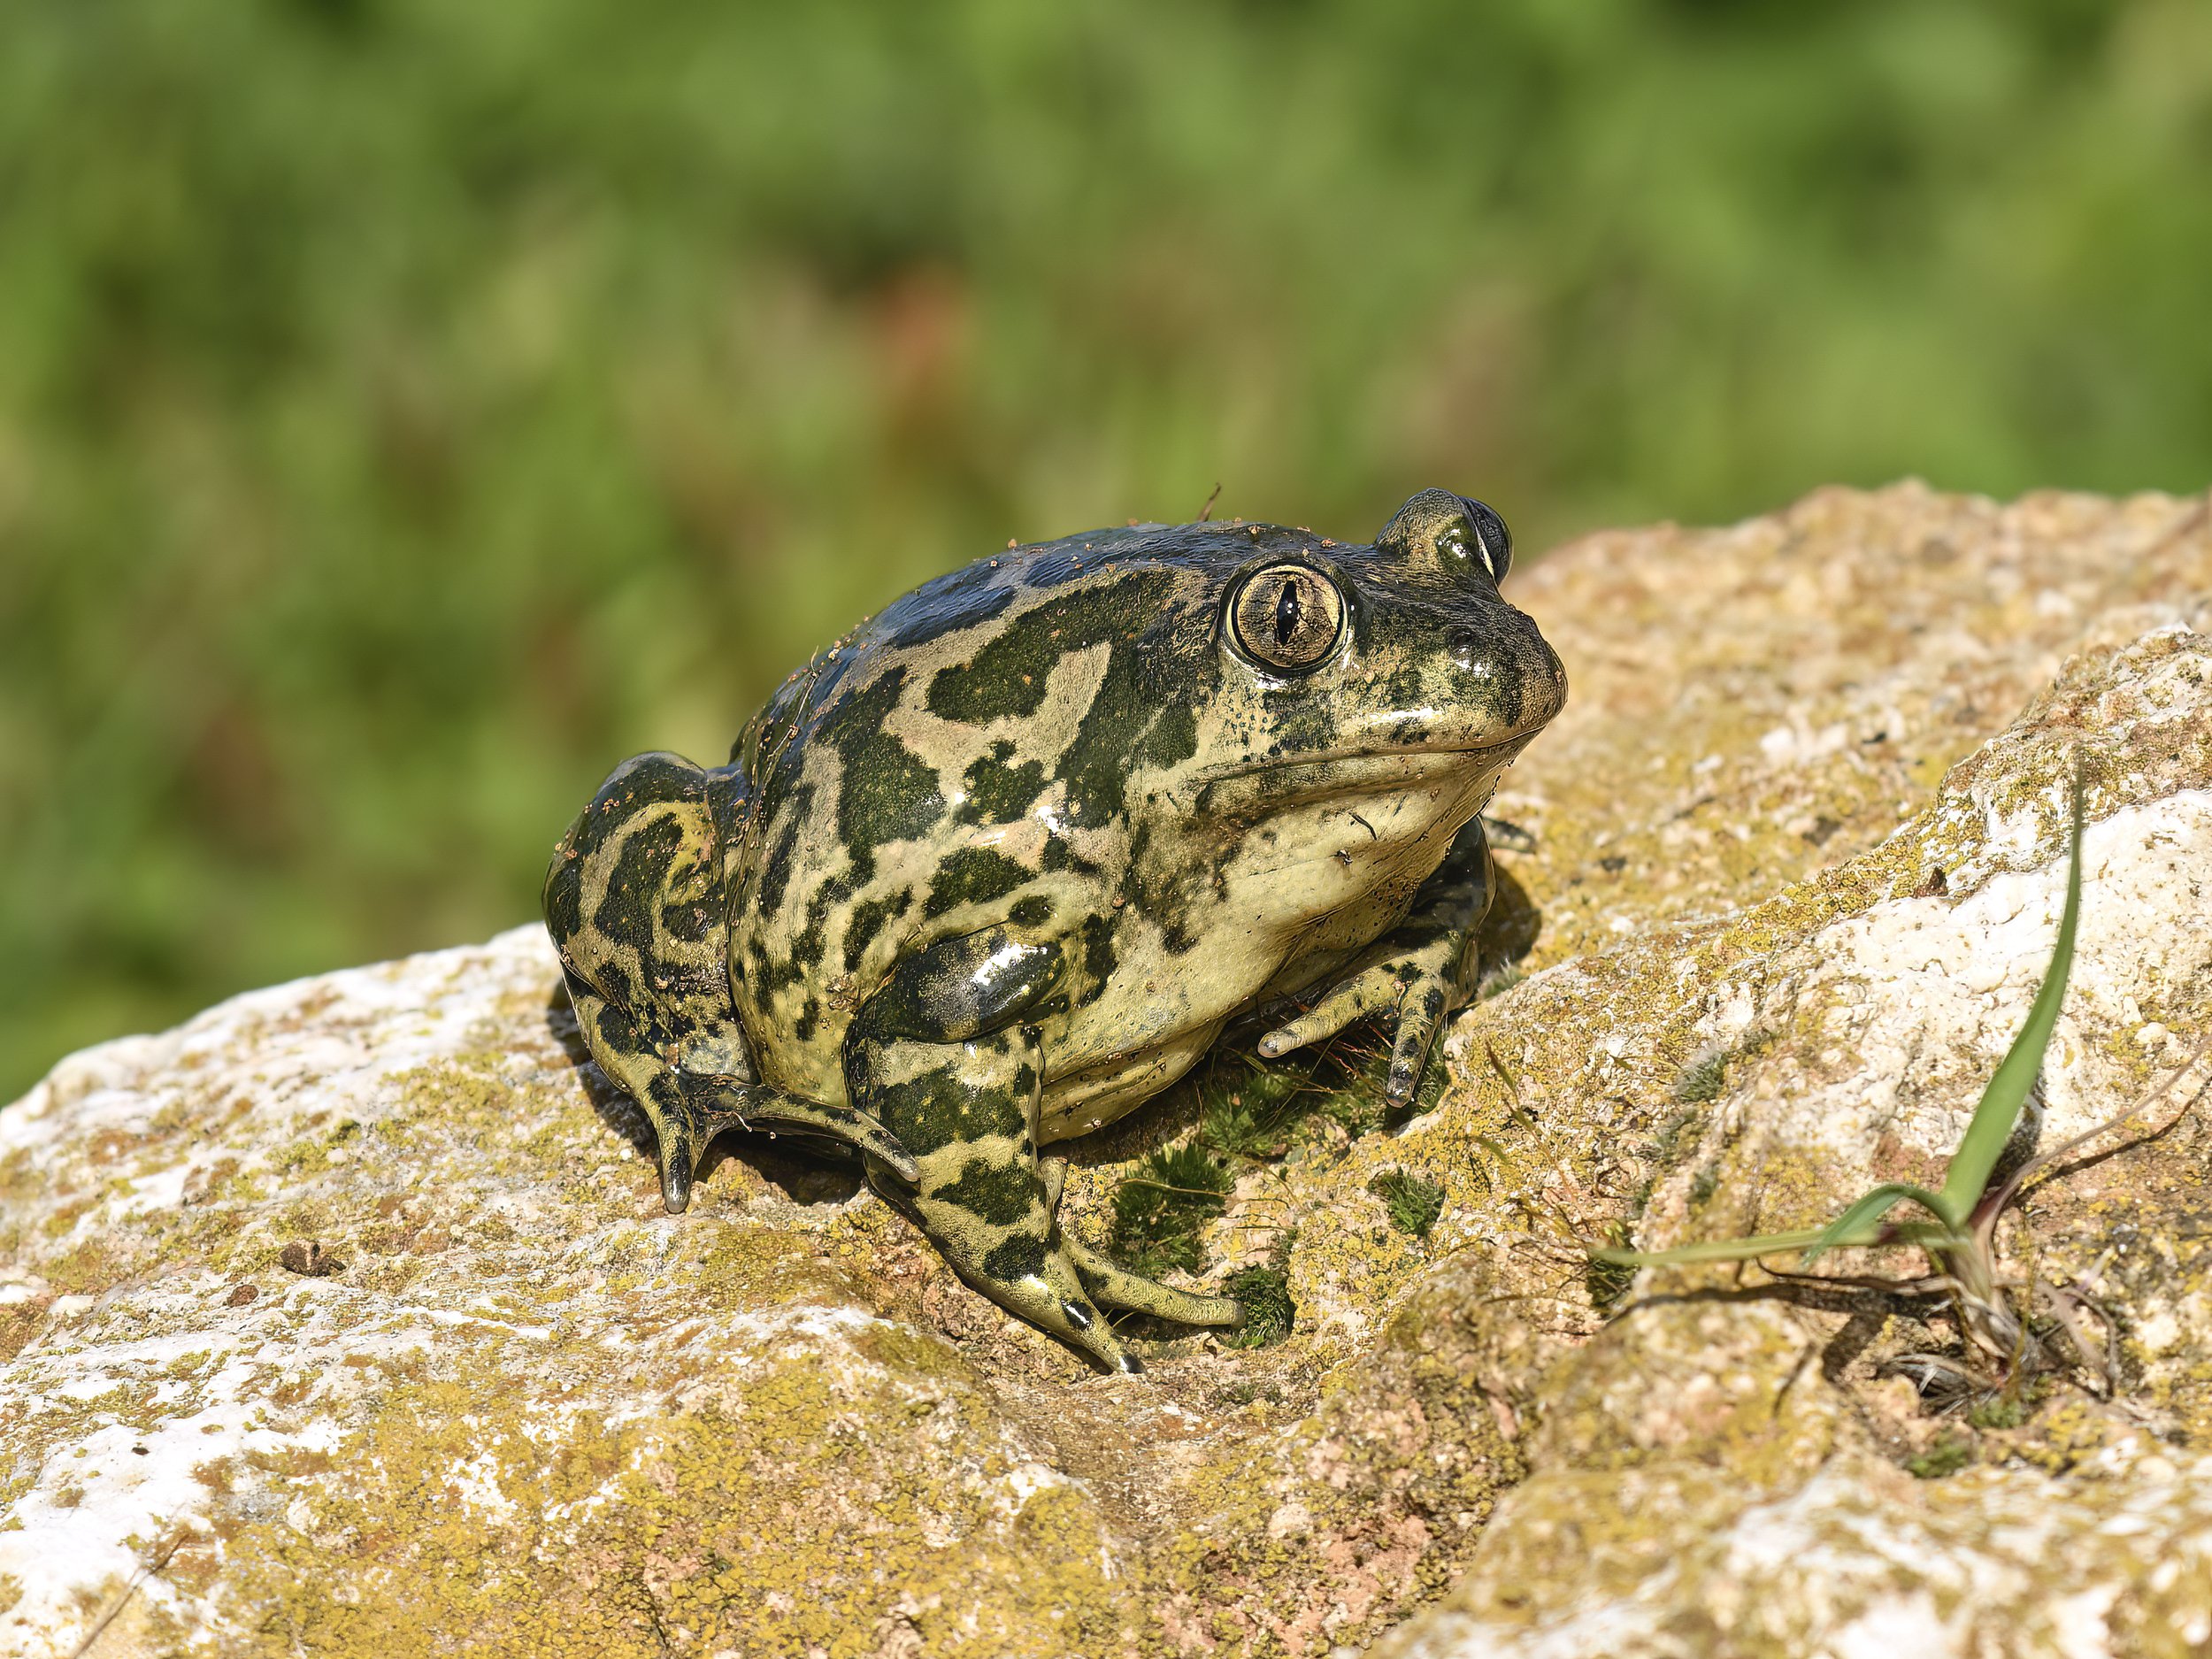
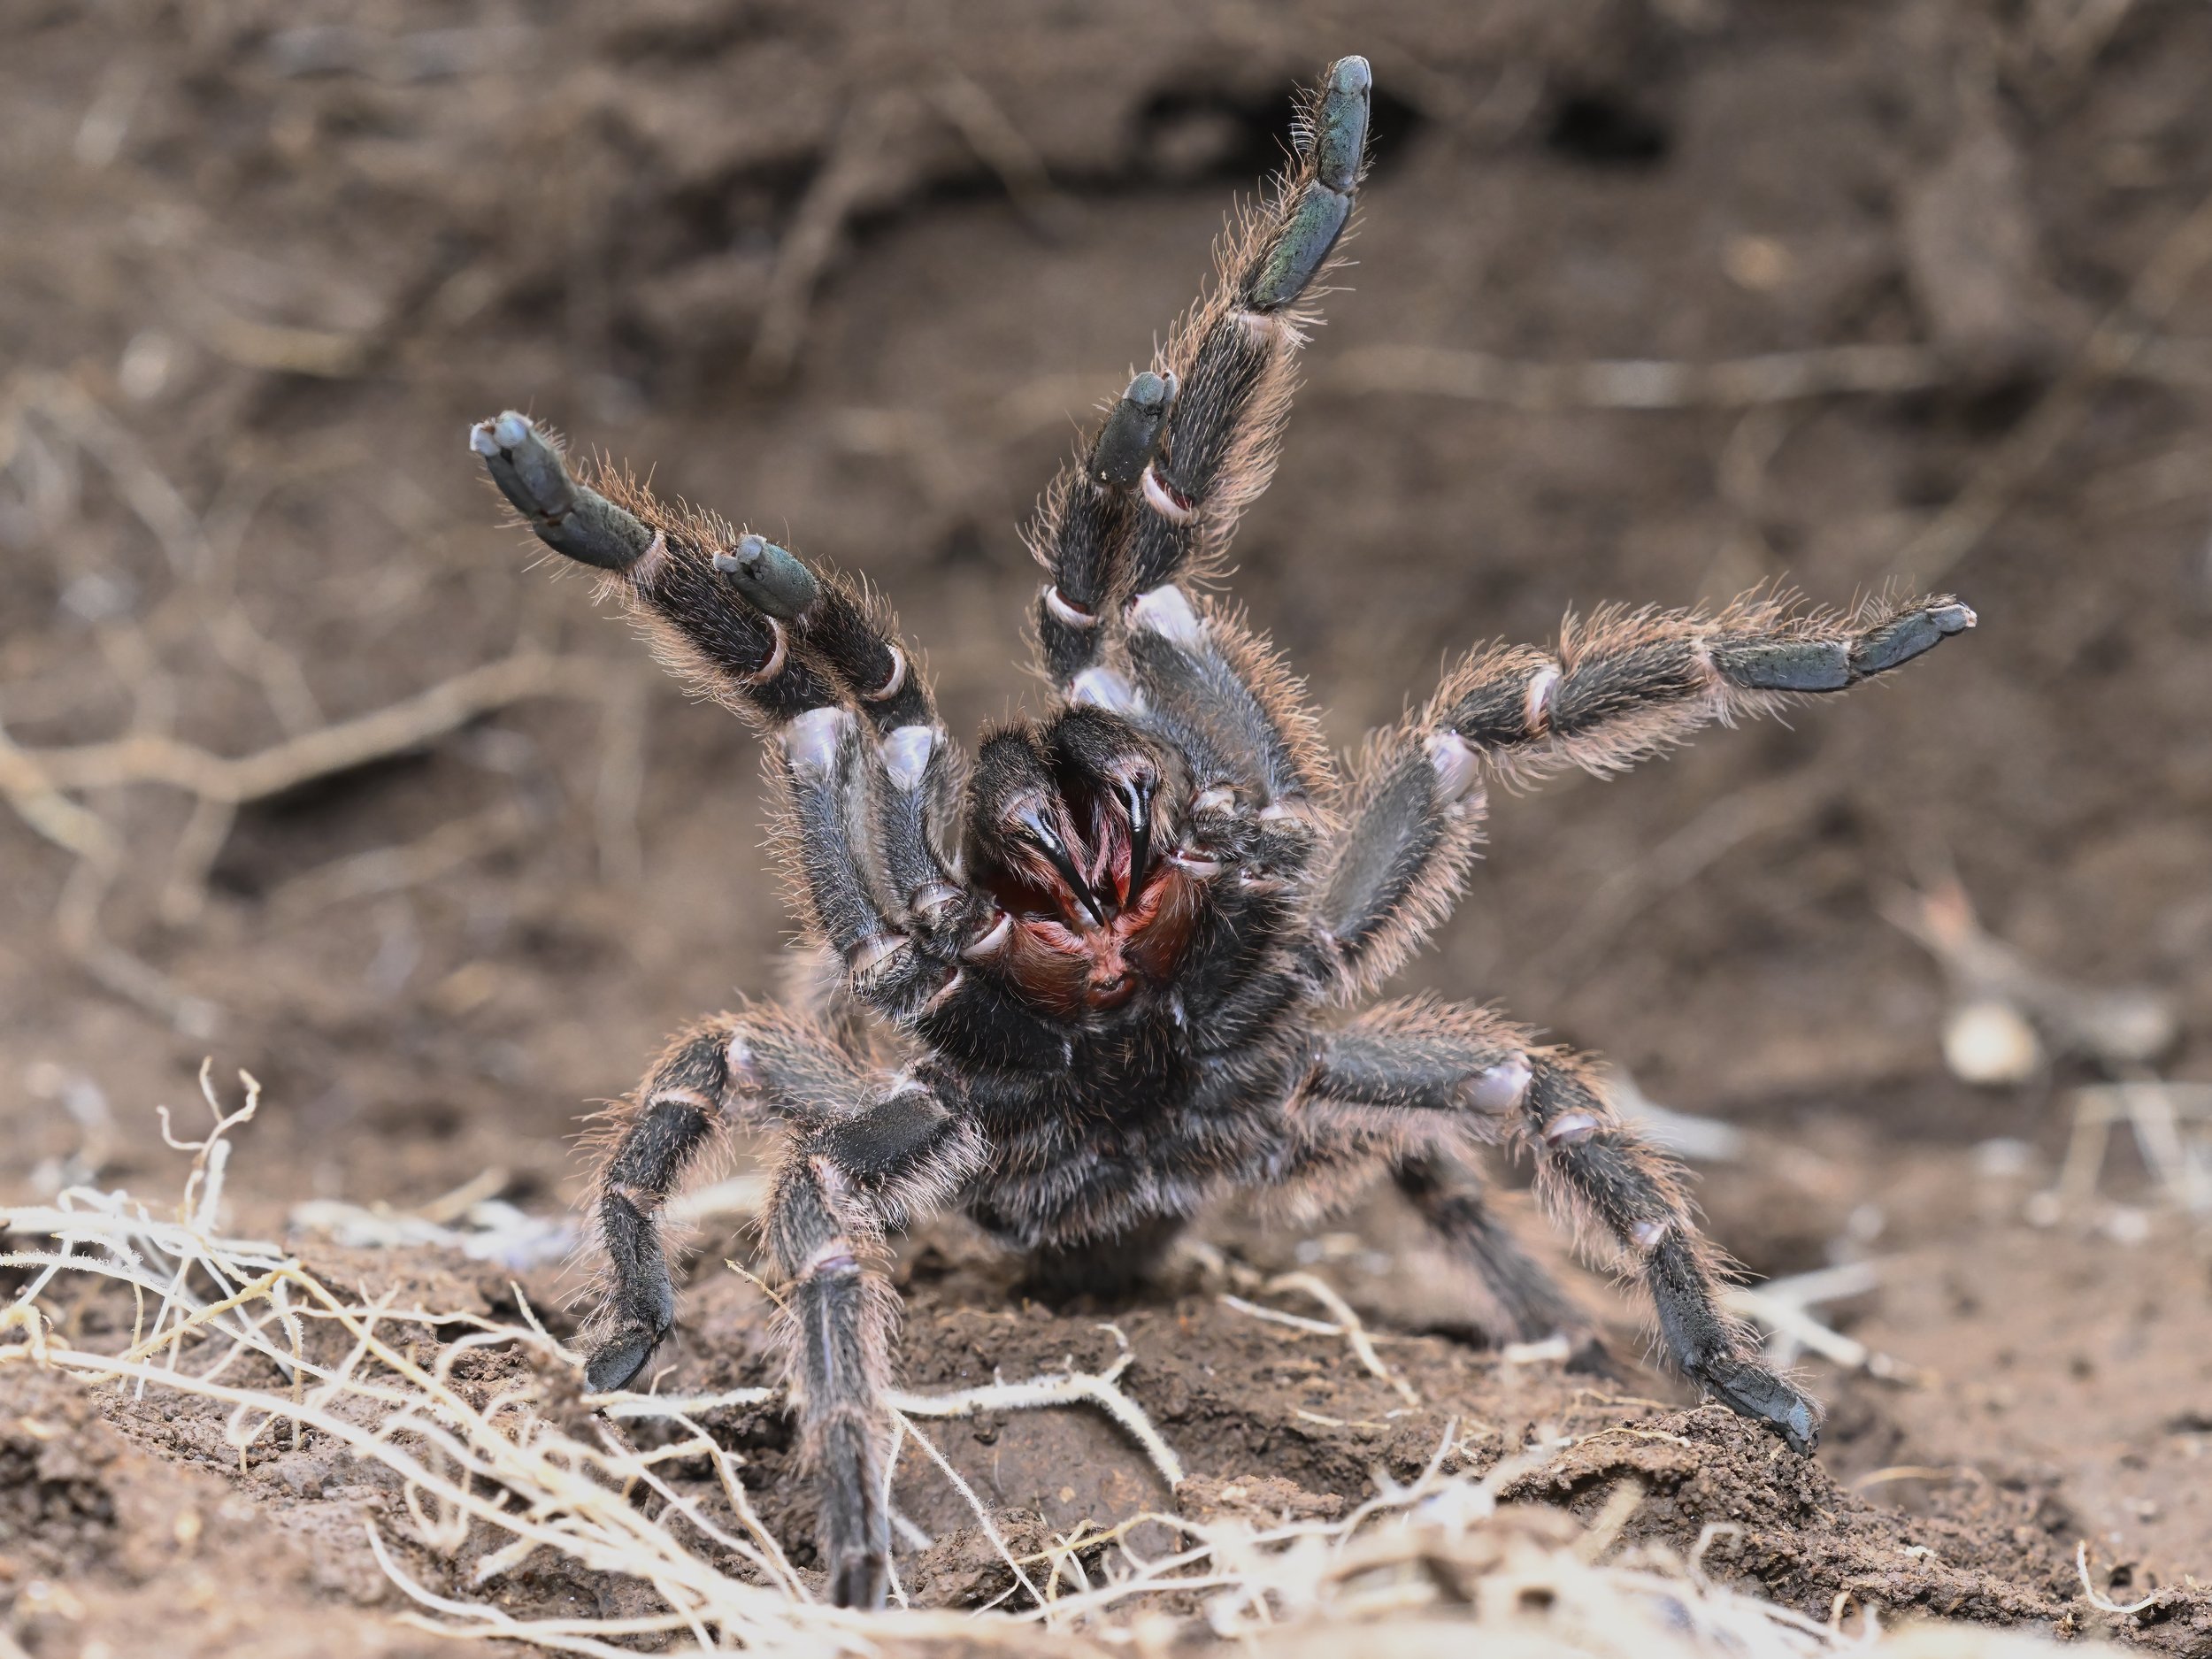
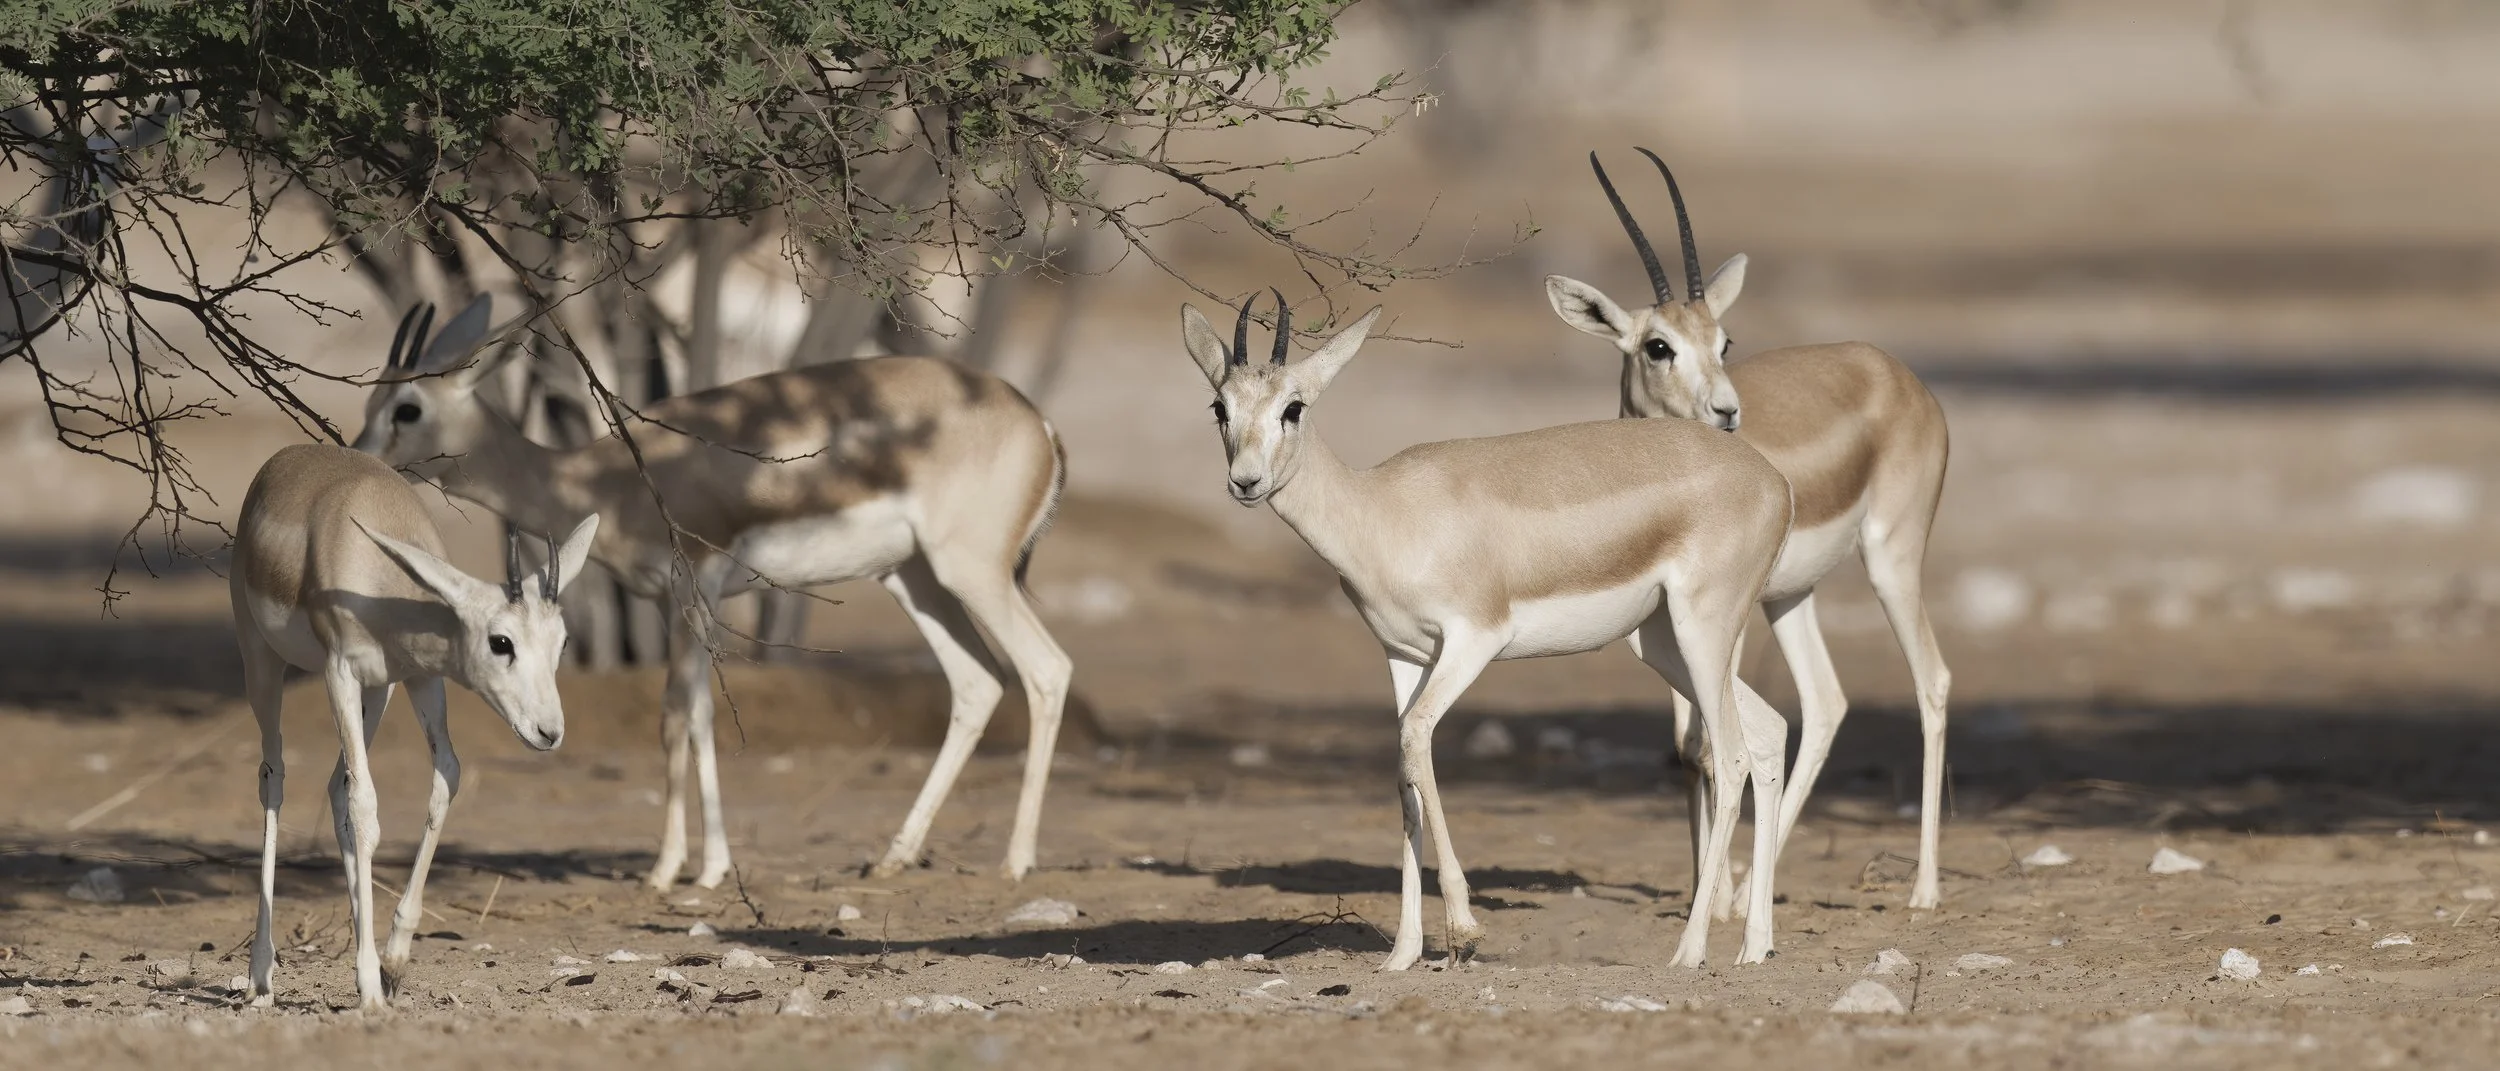
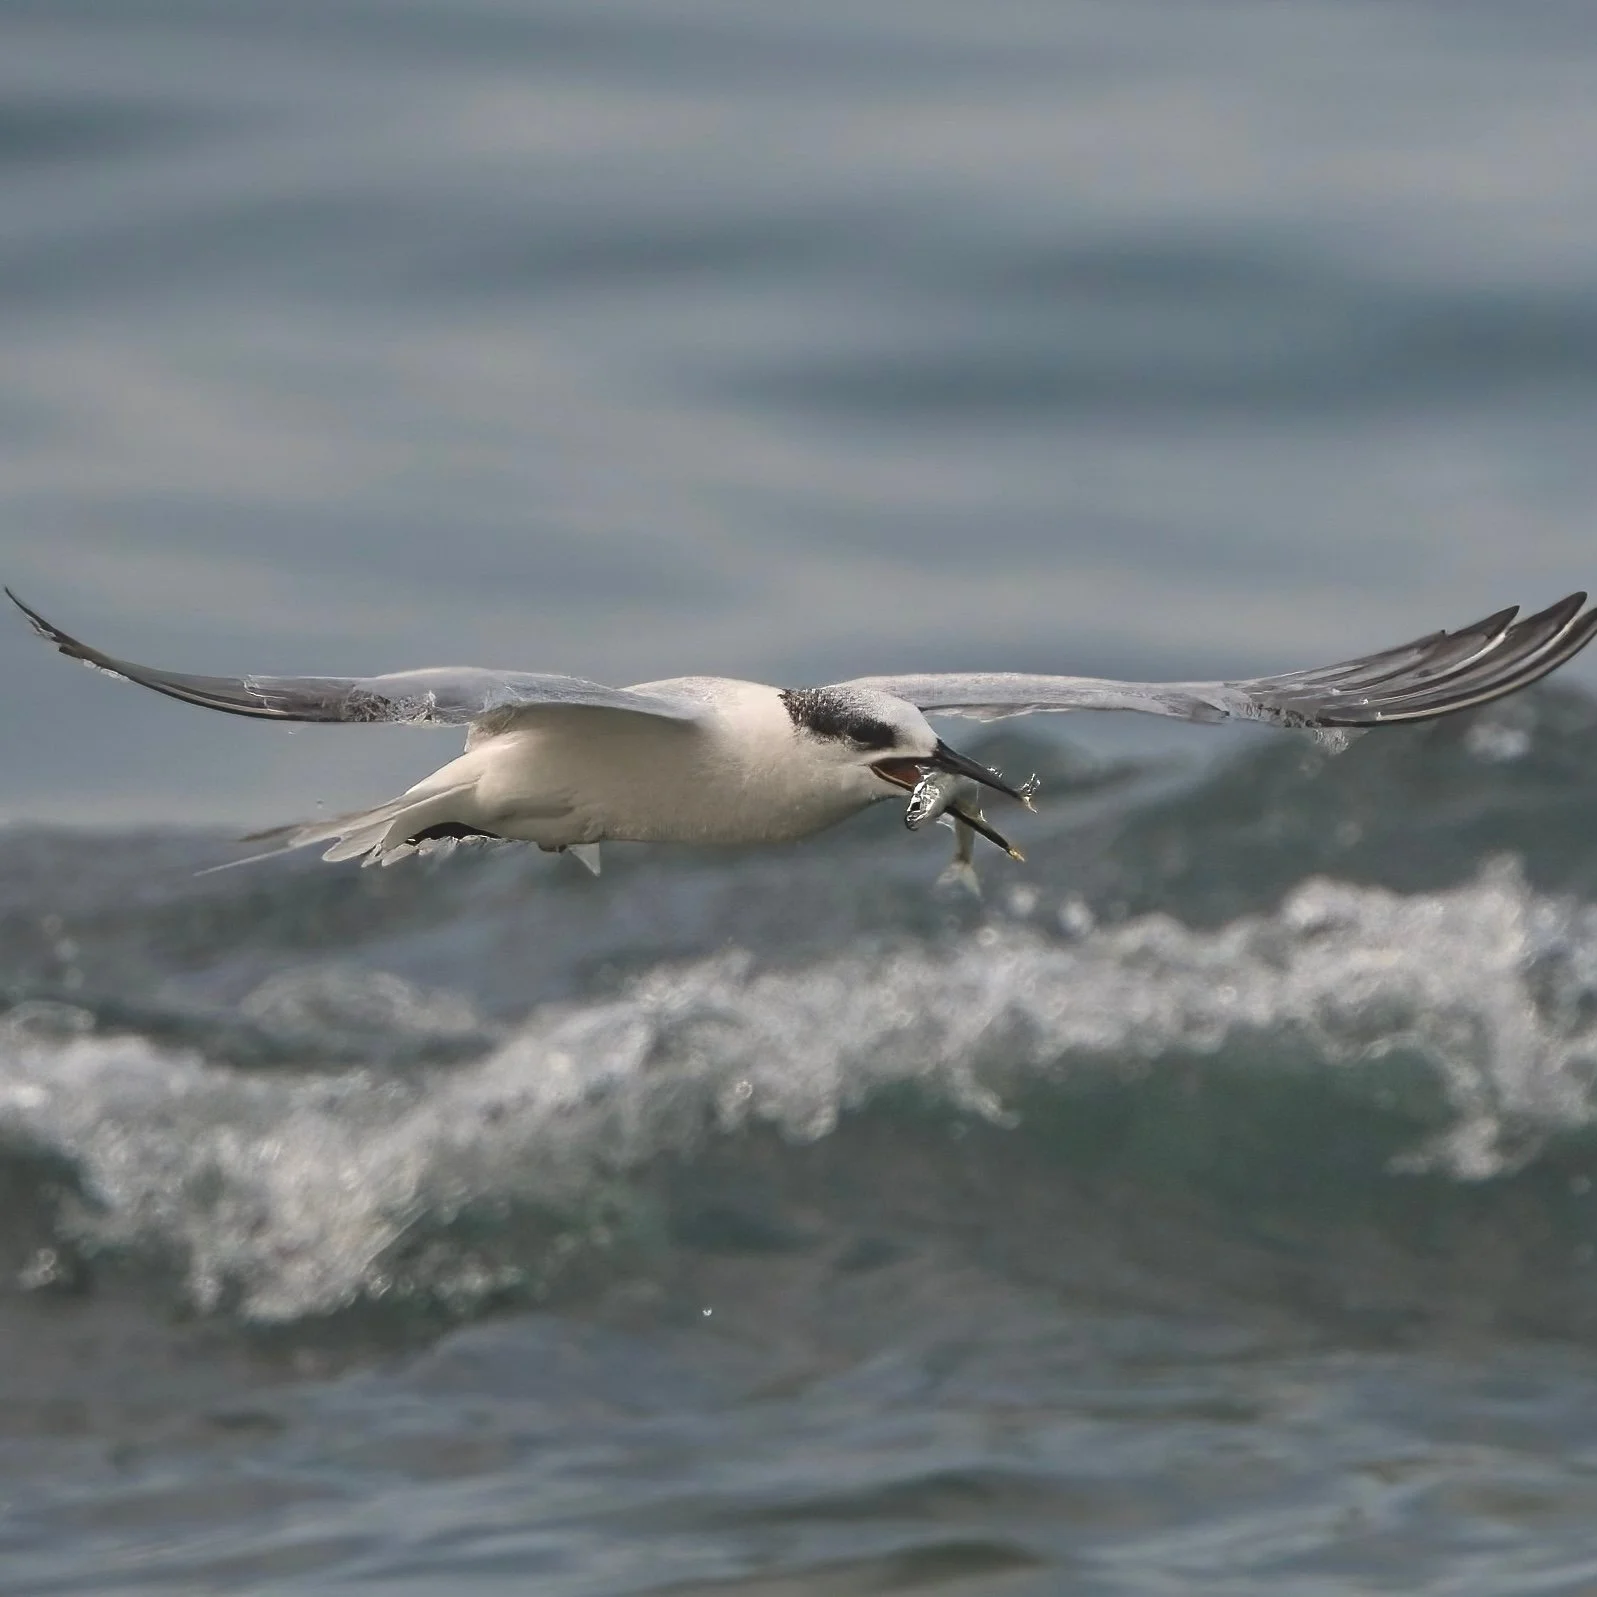
Animal Approach Routes
Studying the surroundings to identify animal approach routes is crucial. Look for signs like trails, droppings, fresh dirt, and digging marks. This will help you determine possible animal paths and improve your planning.
Game Caller Location
Place the game caller far from your position, place it close to the shooting zone. Ensure it is well-hidden to prevent animals from recognizing it as a fake.
Bait Location
Bait can be combined with the game caller and should be positioned far from you and near the shooting spot.
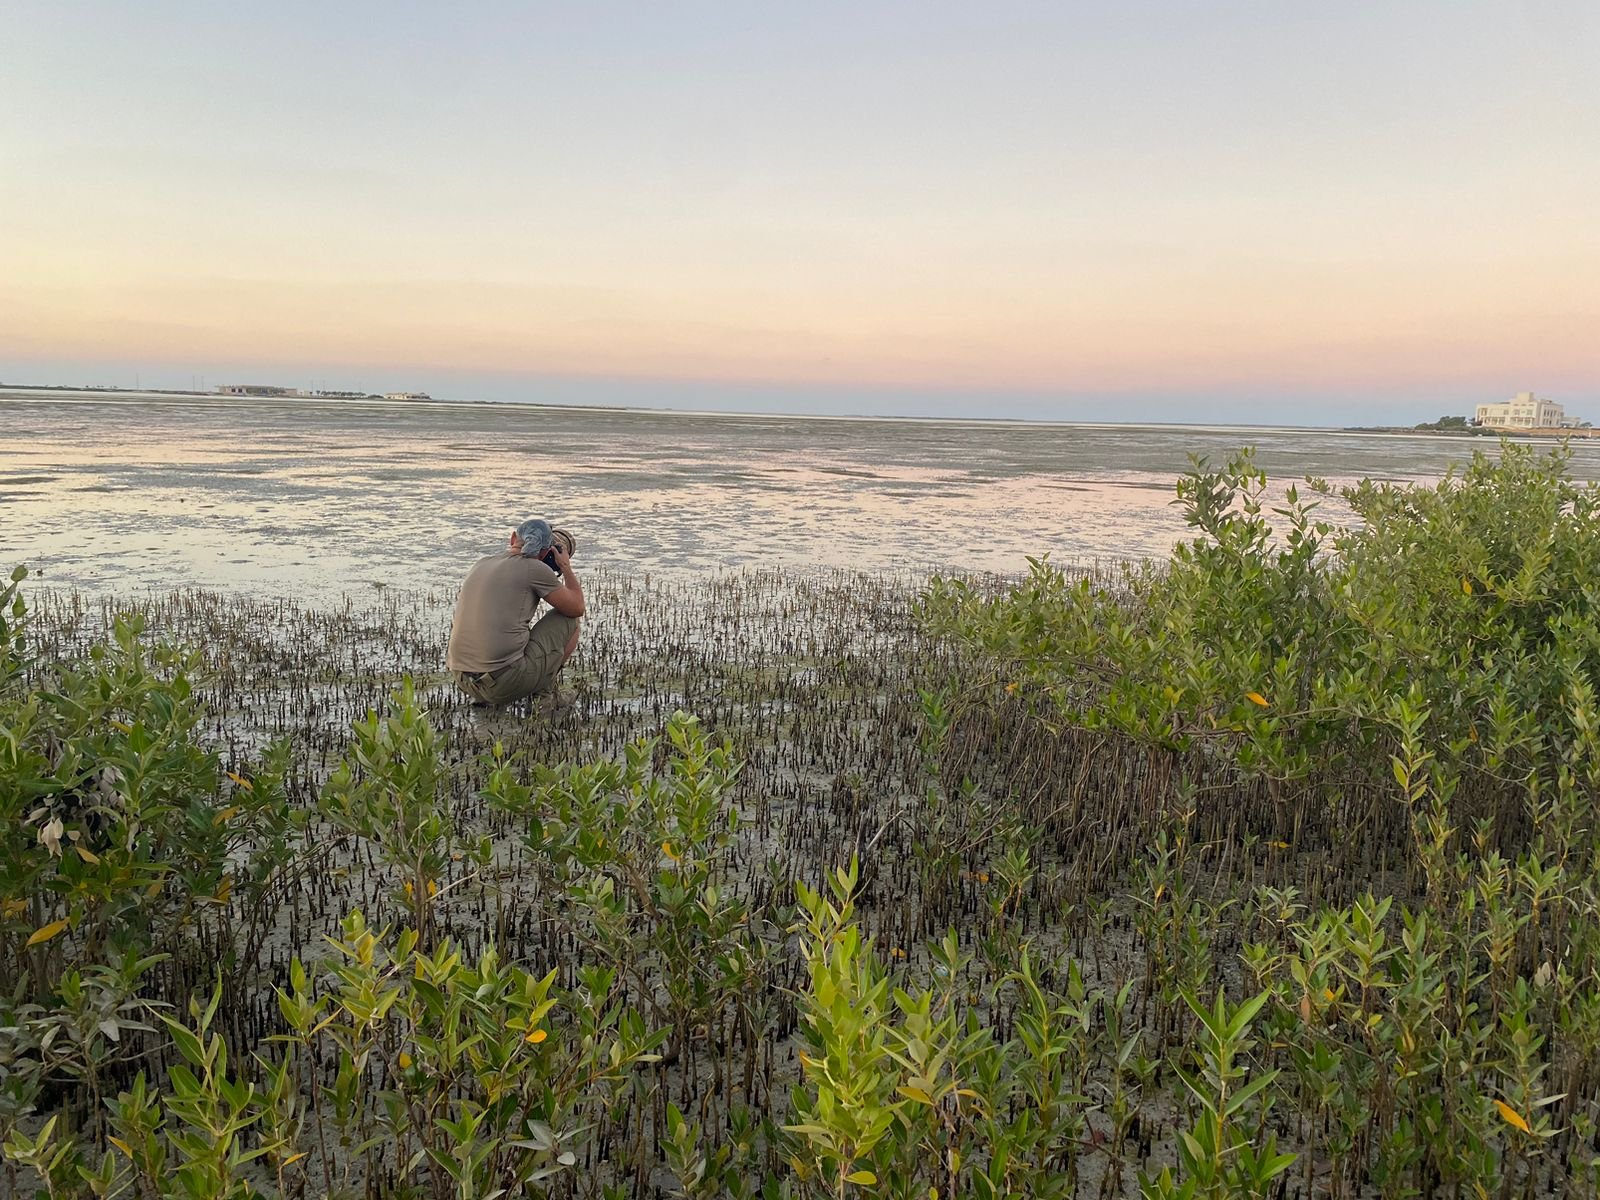
Camera and Photographer Location
If the best camera angle is not the best hiding spot, use a remote camera trigger to separate your camera location from your position. Otherwise, find a well-hidden spot with a tree or ridge at your back, and don’t sit on the approach routes.
Light Location
Focus Light: Install a dim light to illuminate the shooting zone just enough for your camera to focus. I found that after testing, the constant dim light is tolerated by animals, given that it is low power, not moving around, and constant.
Main Light: Depending on the distance, use an on-camera speed light or an off-camera flash. The latter is useful when you need to stay further back due to danger or animal sensitivity.
Utilizing Natural Light
If you are shooting during the day always keep the sun at your back when shooting during the day to optimize natural lighting.